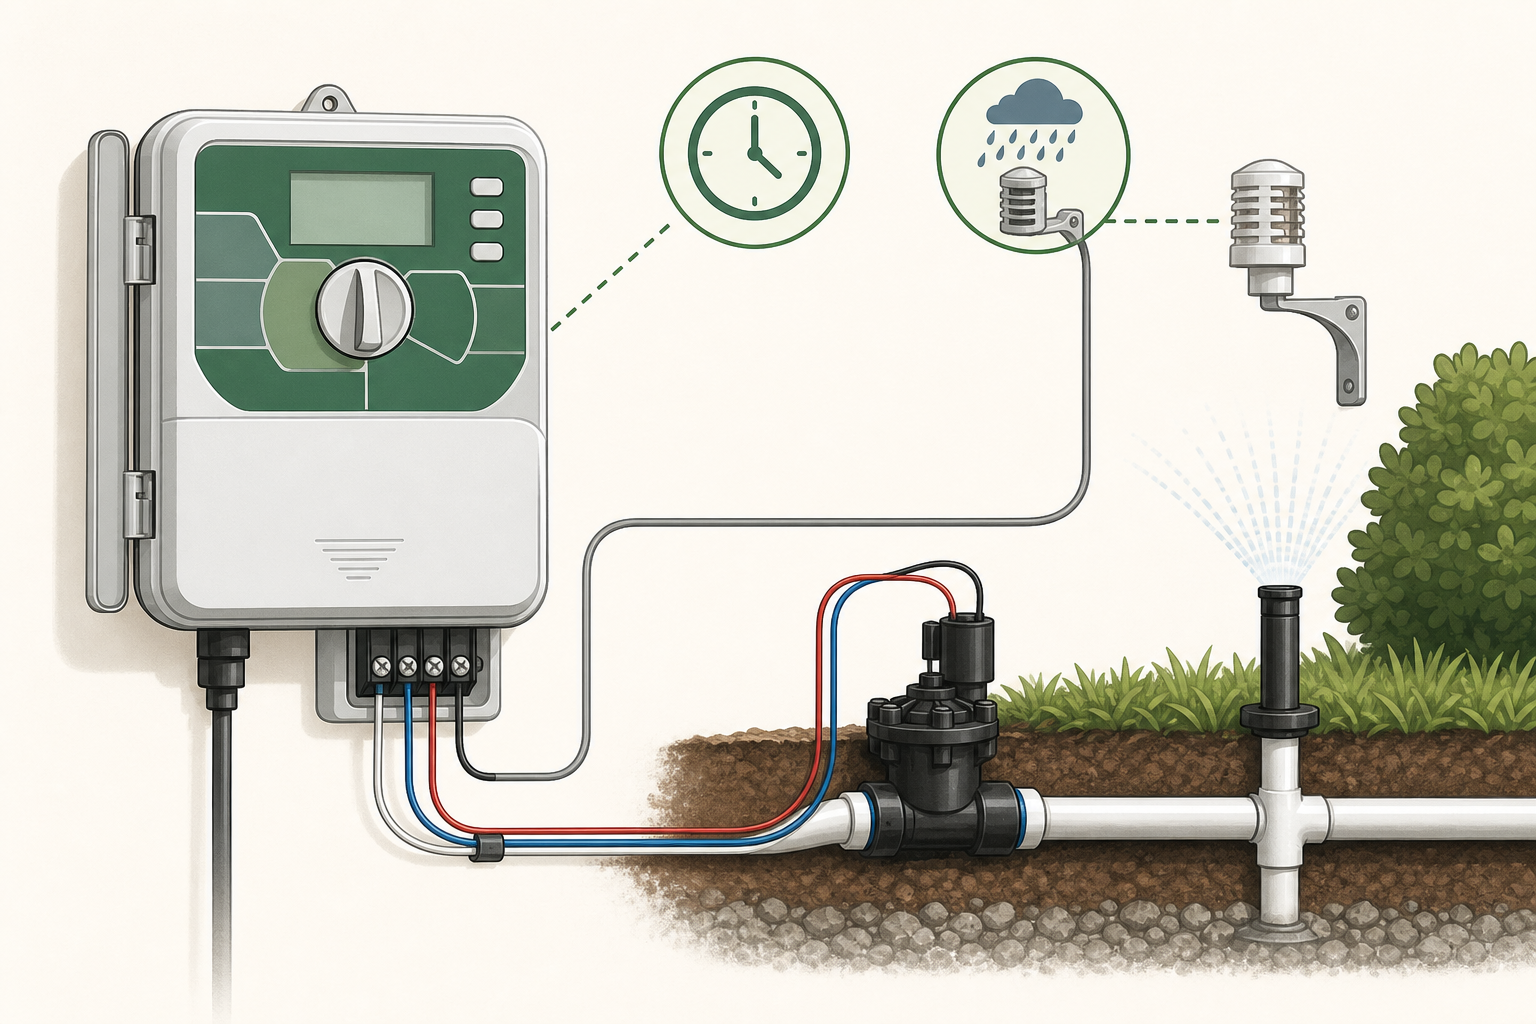
If an irrigation timer will not start watering, separate a scheduling problem from a power, sensor, wiring, valve, or water-supply fault. Start with non-invasive checks before opening electrical equipment.
Does the display work?
A blank display suggests depleted batteries, a disconnected transformer, a tripped outlet or breaker, or an internal power fault. Replace batteries with the specified type and test the outlet with an appropriate device. Mains-voltage work belongs to a qualified professional.
Try a manual start
If manual watering works, the field wiring and valve may be functional and the problem is likely in the schedule. If manual watering also fails, check the water supply, sensor status, controller output, wiring, solenoid, and valve.
Check the complete program
- Correct current time, date, and AM/PM setting
- At least one active watering day
- A valid program start time
- A non-zero runtime for the station
- Controller set to Run or Auto
- No active rain delay, seasonal adjustment at zero, or programmable-off period
One start time normally launches all programmed stations in sequence. Adding a start time for every station can cause repeated watering rather than fixing a missed schedule.
Inspect the sensor circuit
A wet rain sensor, bypass setting, loose sensor wire, or missing jumper on an unused sensor terminal can prevent operation on some controllers. Follow the exact wiring diagram for the model.
If the controller runs but no water flows
Confirm the main and zone supplies are open. A station error may indicate shorted field wiring or a failed solenoid. If the valve opens manually but not electrically, focus on the controller output, common wire, station wire, and solenoid.
Turn off electrical power before touching wiring. Do not apply voltage to terminals unless the manufacturer’s procedure calls for testing and you have the appropriate experience and meter.
Related guides
Not sure where to start? Open the Irrigation Troubleshooter.