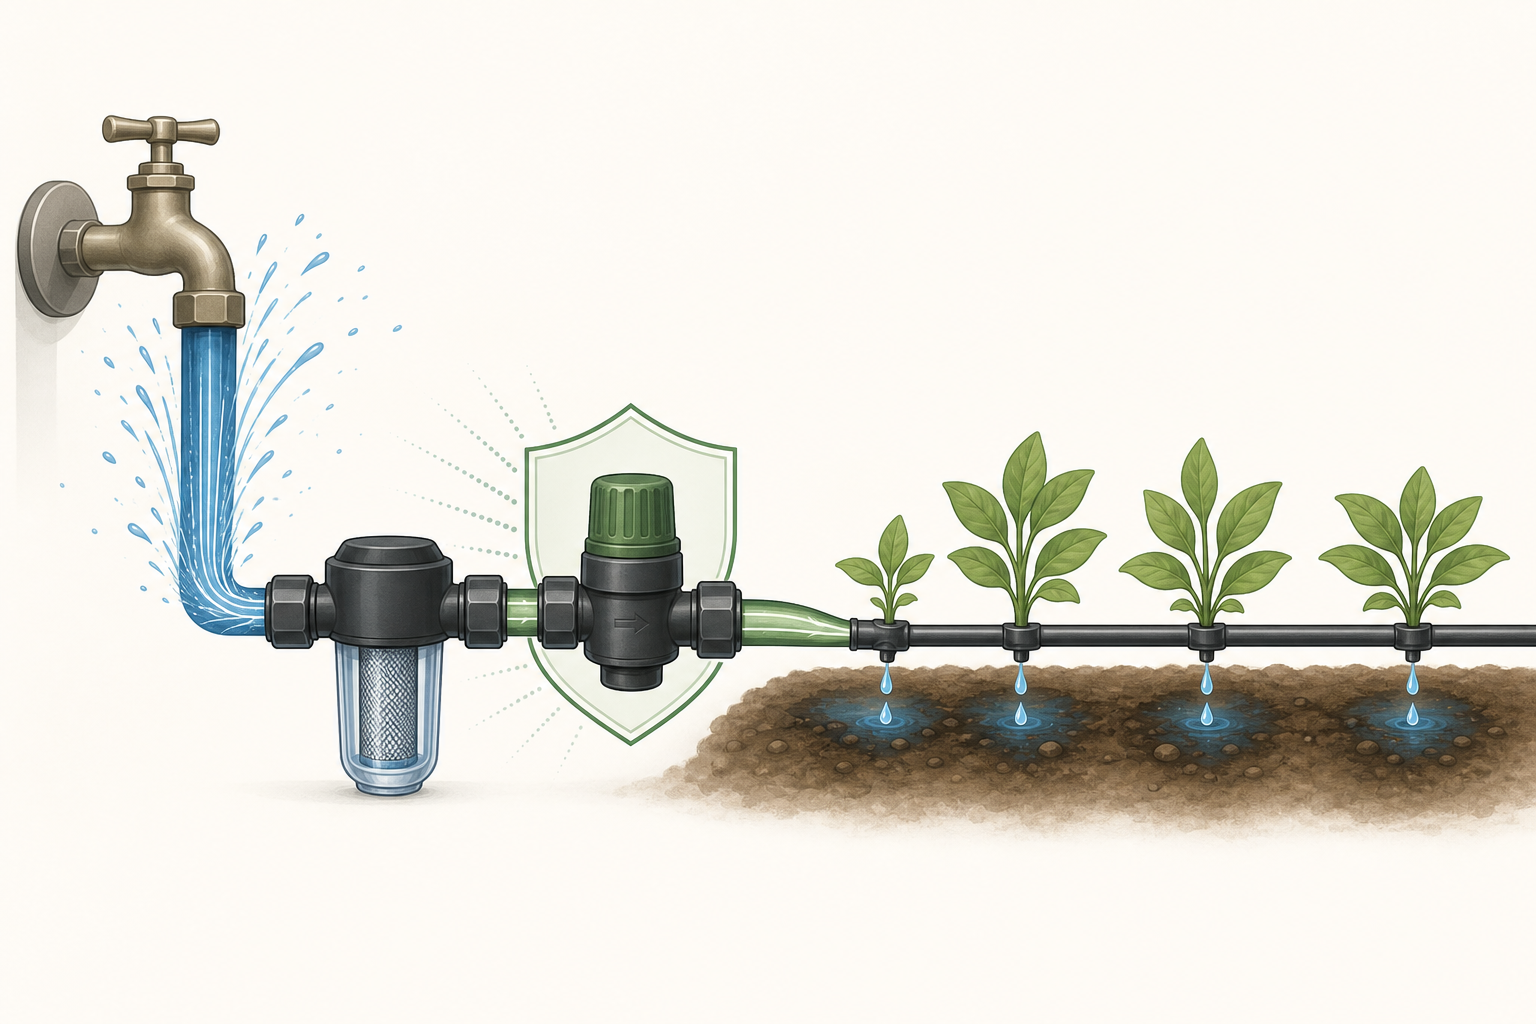
Most faucet-fed drip systems need a pressure regulator when supply pressure exceeds the equipment’s recommended working pressure. For many garden emitter systems, 25 PSI is a useful starting point; drip tape often needs about 10–15 PSI. Choose the actual setting from your tubing and emitter specifications, then check that your zone’s flow matches the regulator.
The number on the regulator is only part of the decision. A correctly labeled regulator can still perform poorly if too little water passes through it or the inlet pressure is insufficient.
Do you need a pressure regulator for drip irrigation?
A regulator reduces excessive incoming pressure to a suitable downstream level. It helps protect drip components from leaks, separated connections and excessive emitter flow. DIG describes its 25 PSI regulator as a way to bring household supply pressure into the working range of its drip equipment. See DIG’s specifications and installation guidance.
You may already have suitable regulation in a drip-zone assembly. Check its outlet setting and flow range before adding another regulator. A timer alone does not establish that pressure regulation is included.
If the source already delivers stable pressure within every downstream component’s permitted range, a separate regulator may be unnecessary. Verify the pressure during operation. A regulator cannot boost a weak supply; for that problem, start with Why Is My Drip Irrigation Pressure So Low?
What PSI should you use: 10, 15, 25 or 30?
Start with the exact equipment, especially whether you have thin-wall drip tape or thicker dripline. These starting points are not interchangeable product ratings.
| Your system | Pressure to investigate | What decides the setting |
|---|---|---|
| Thin-wall drip tape | Often 10–15 PSI | The tape’s wall thickness, operating range and maximum pressure |
| Garden tubing with separate drip emitters | Often 25 PSI | Emitter requirements and tubing/fitting limits |
| Landscape dripline | 25 or 30 PSI may suit the design | The specific dripline’s pressure range and lateral-length tables |
| Pressure-compensating dripline | Use its specified design pressure | Compensation range, line length, elevation and component limits |
Clemson Extension gives 30 PSI for typical landscape drip tubing and 10 PSI for garden drip tape. This explains why advice differs by system type; it does not make either number universal. Read Clemson’s filter and pressure-regulator guidance.
Some products allow a much wider operating range. For example, Rain Bird lists 8.5–60 PSI for XPC pressure-compensating dripline. That is an operating range for that product, not a recommendation to run an entire mixed-component garden system at 60 PSI. See the XPC technical sheet.
Pressure-compensating emitters do not replace system pressure protection. They stabilize emitter output within their specified range; tubing, fittings and other parts still have pressure limits.
Check flow rate before buying a regulator
Drip irrigation pressure regulators have a working flow range as well as a PSI rating. Calculate the demand of the zone that will actually run:
For example, 12 emitters rated at 1 GPH total 12 GPH, or 0.2 GPM. That is below the 0.5 GPM minimum listed for Senninger’s PRL regulators. A regulator from that range would therefore be outside its published flow specification for this example, even with the right outlet PSI. Check the PRL flow specifications.
Choose a model whose documented range includes your demand. For dripline, use its flow-per-length specification or calculate from emitter spacing. Include only outlets operating together. Our guide to how many drippers can go on one line explains the wider sizing checks.
Before ordering, record the required outlet PSI, minimum and maximum GPM, permitted inlet pressure and connection type. Hose threads and tapered pipe threads are different; matching the nominal diameter alone is not enough.
Where does the pressure regulator go?
For a typical separate-component drip-zone assembly, the working order is control valve or timer → filter → regulator → drip tubing. Position backflow protection according to the approved device’s instructions and the requirements for your water connection; there is no single placement diagram that fits every device.
DIG’s D46 instructions place the filter before the regulator and, for its illustrated automated faucet setup, the timer before the backflow device. Combined filter/regulator assemblies have their own instructions. Follow the manufacturer’s installation diagram.
Many basic irrigation regulators must be downstream of shutoff valves because they are not designed for continuous supply pressure. Do not put one before a timer unless its documentation explicitly permits that arrangement. DripWorks explains the constant-pressure limitation.
Shut off the water and release pressure before opening connections. Match the flow arrow to the direction of water travel, support the assembly and use the specified thread-sealing method. For the full watering setup, see how to automate a small drip irrigation system.
How to test a drip irrigation pressure regulator
Test while the zone is watering. A gauge attached to a closed outlet measures a no-flow condition, which may not show the regulated operating pressure.
- With the water off and pressure released, fit suitable gauge connections upstream and downstream of the regulator. Use a tee or test port that leaves water flowing to the emitters.
- Run the normal zone and allow the readings to stabilize.
- Check inlet pressure against the regulator’s requirements and compare downstream pressure with its specified output and tolerance.
- If the readings are suitable, compare water delivery near the beginning and end of the dripline.
Senninger’s catalog describes this two-gauge check and specifies at least 5 PSI above the outlet setting for the models covered. A 25 PSI model with that requirement needs at least 30 PSI at its inlet while operating. Check your own model’s required margin. See Senninger’s testing and sizing guidance.
Why is the pressure still wrong?
| What you observe | Next check |
|---|---|
| Outlet pressure stays too high | Confirm the measurement is under flow, then check minimum flow, orientation and the model’s rating. |
| The whole zone runs weakly | Check inlet pressure under flow, the filter, valve opening and total demand before blaming the regulator. |
| Only the far end is weak | Check line length, restrictions, elevation and sizing; do not exceed component limits to compensate. |
| Connections keep leaking | Check operating pressure and fitting compatibility. A leak alone does not prove regulator failure. |
If pressure is suitable but connections still leak, use the drip connector repair guide. Replace a suspect regulator only after checking supply conditions, flow range and installation.
Common questions
Can I just turn the faucet down?
A partly closed faucet restricts flow but does not maintain a preset downstream pressure as demand changes. Use an appropriately sized regulator when pressure reduction is needed. Clemson explains the limitations of using a valve this way.
Is 15 PSI enough for drip irrigation?
It can be, if the specific equipment operates correctly at that pressure throughout the zone. It is not automatically suitable for every dripline. Check minimum operating pressure and line-length guidance.
Does a gravity-fed system need a regulator?
Do not add a conventional regulator automatically to an already low-pressure supply. Verify available operating pressure and use equipment designed for those conditions. A regulator reduces pressure; it cannot create it.
Should each zone have its own regulator?
Size regulation for the zones and flows that operate together. Separate downstream regulators can accommodate different pressure requirements. A shared assembly needs to be suitable for its location and every intended operating combination.
Before buying: identify your drip equipment, calculate the active zone’s flow and measure running pressure. Those three checks give you a much stronger basis for choosing a regulator than the PSI label alone.
Not sure where to start? Open the Irrigation Troubleshooter.